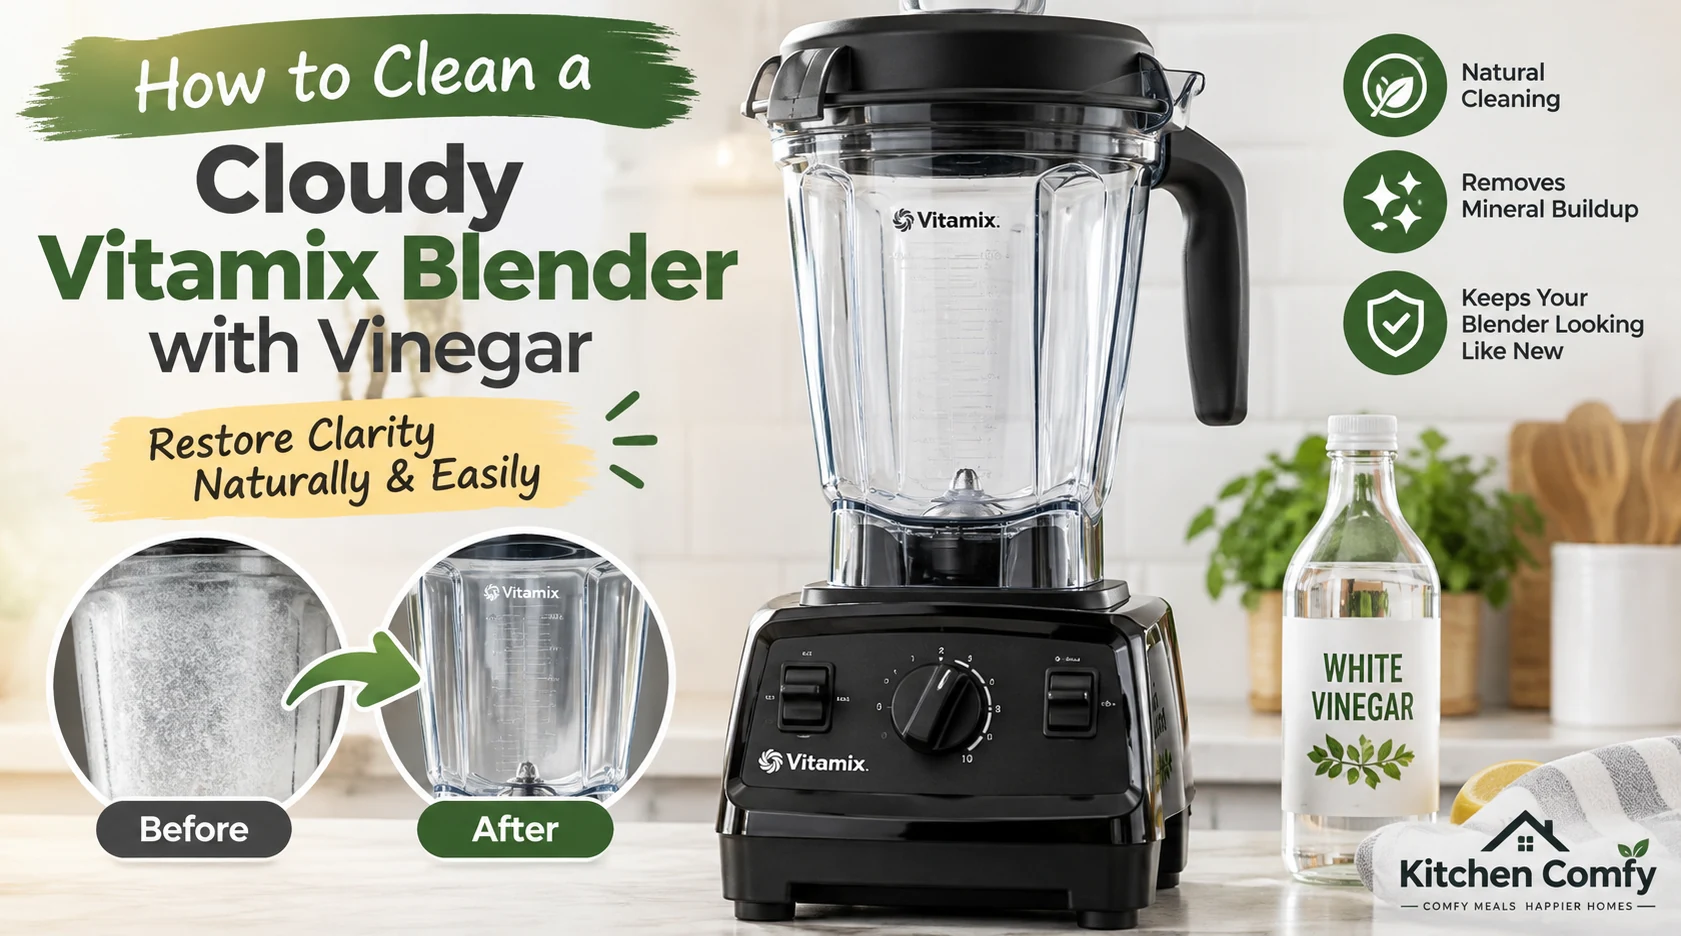
Has your Vitamix container started looking cloudy even though you wash it after every use? That white or dull film is usually mineral residue from food and water, and hard water can make it more noticeable.
The good news is that you can often improve the container with a simple white vinegar soak. In this Kitchen Comfy guide, I’ll show you the method I would use first, how long to soak it, how to remove stubborn residue safely, and what to do if the container still looks cloudy afterward.
Quick answer: Pour 1 cup of white vinegar into the Vitamix container, add warm water until the container is about half full, and let it stand upright for several hours. Then rinse it thoroughly and gently scrub any remaining film with a soft, non-abrasive scrubber. This approach matches Vitamix’s own care guidance.
- Best first method: White vinegar and warm water
- Vinegar: 1 cup
- Water: Warm water to about halfway up the container
- Soak time: Several hours
- For stubborn film: A soft scrubber or baking soda paste
- Important: Do not immerse the motor base or put a container in the dishwasher unless your model’s manual says it is dishwasher-safe
Why Does a Vitamix Blender Become Cloudy?
A cloudy Vitamix container usually develops a thin film of minerals and residue over time. Vitamix explains that minerals from fruits, vegetables, and water can leave this film, and hard water can contribute to the problem.
So, a cloudy container does not automatically mean your blender is dirty. It can look dull even after normal washing because the residue sticks to the container surface.
I also would not assume that every cloudy container needs a stronger chemical cleaner. I prefer starting with the simple vinegar method because it is specifically recommended by Vitamix for this problem.
How to Clean a Cloudy Vitamix Blender with Vinegar
Before you start, unplug the blender and separate the container from the motor base. You do not need to remove the blade assembly for this cleaning method, and I would avoid trying to disassemble a sealed blade assembly unless your exact model’s manual says you can.
Step 1: Rinse the Vitamix Container
Rinse the container with warm water to remove loose food particles and residue. If you recently blended something sticky, wash away as much of it as possible before the vinegar soak.
This gives the vinegar a cleaner surface to work on. It also makes the final rinse easier.
Step 2: Add One Cup of White Vinegar
Pour 1 cup of white vinegar into the empty Vitamix container. Use plain white vinegar rather than a scented or flavored vinegar.
Vitamix gives this same one-cup measurement in its official cloudy-container cleaning instructions.
Step 3: Add Warm Water
Add warm water until the container is about half full. Do not fill it to the top, and avoid using boiling water.
Keep the container upright while it soaks. The vinegar solution needs to contact the cloudy areas for several hours.
Step 4: Let the Vinegar Solution Soak
Leave the container standing upright for several hours. Vitamix recommends this approach for cloudy or stained containers.
I would give the soak enough time to loosen the mineral film instead of rushing to scrub it. If the buildup is heavy, a longer soak can be more useful than aggressive scrubbing.
Step 5: Empty and Gently Scrub
Pour out the vinegar solution. Then use a soft, non-abrasive sponge, cloth, or pot scrubber to gently work on any film that remains.
Be especially careful around the blade assembly. Vitamix warns that the blades are sharp, so keep your fingers away from the blade edges while cleaning.
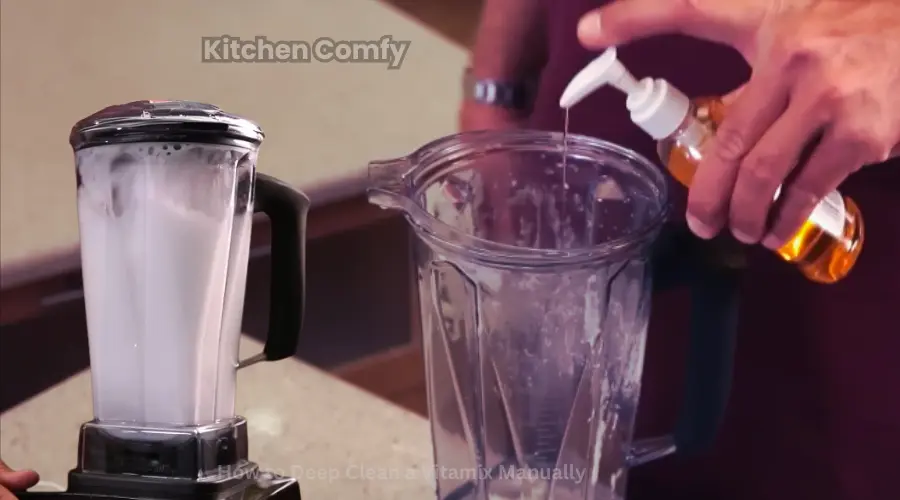
Do not use a harsh abrasive pad simply because the container still looks cloudy. Scrubbing too aggressively can create scratches that make the container look worse.
Step 6: Rinse the Container Thoroughly
Rinse the container several times with clean water until you can no longer smell vinegar. Check the sides and bottom for any remaining film.
If the container now looks clear, you can move on to drying. If you still see a stubborn white layer, continue with the next step.
Step 7: Use a Baking Soda Paste for Stubborn Film
For residue that remains after the vinegar soak, make a simple paste from baking soda and a small amount of water. Apply it gently to the cloudy areas with a soft cloth or soft brush, then rinse thoroughly.
Vitamix also recommends baking soda and water as an option for cloudy buildup. I treat this as a second step rather than the starting point because the vinegar soak is simpler and directly targets mineral residue.
Step 8: Wash and Air-Dry
After the deep clean, wash the container according to your model’s normal cleaning instructions. Then rinse it well and place it upside down on a clean drying rack or towel.
Let the container air-dry completely before storing it. This helps prevent water spots and keeps the container ready for the next use.
What If the Vitamix Is Still Cloudy After Vinegar?
Vinegar can remove mineral film, but it cannot reverse every type of damage. If the container still looks hazy after cleaning, the surface may have scratches, permanent etching, or another type of wear rather than removable residue.
That distinction matters. If the surface feels smooth and the haze does not change after a careful vinegar soak and gentle scrub, I would stop increasing the strength of the cleaner. More aggressive treatment can damage the container instead of restoring it.
For persistent cloudiness, compare the container with the cleaning and care instructions for your exact Vitamix model. Vitamix’s official cloudy-container cleaning guide is a useful reference.
How to Keep Your Vitamix Container Clear
The easiest way to manage cloudiness is to avoid letting residue sit in the container. Rinse the container soon after blending, especially after thick smoothies, leafy greens, sauces, or mineral-rich ingredients.
For normal cleaning, Vitamix recommends adding a small amount of dish soap and warm water, securing the lid, and running the blender according to the model’s cleaning instructions. Some models have different cleaning and dishwasher guidance, so your owner’s manual should always take priority.
If you are learning how to get better results from your blender in general, our guide to loading a blender for smoothies can help with ingredient order and blending technique.
My Kitchen Comfy Cleaning Perspective
When I see a cloudy Vitamix, I do not start with a harsh cleaner or aggressive scrubbing. I start by asking what the cloudiness looks like and whether it behaves like a removable mineral film.
My preferred first step is the simple vinegar soak because it is easy, inexpensive, and consistent with Vitamix’s own instructions. After that, I use a soft scrubber only where residue remains.
I also think it is important to set realistic expectations. A vinegar soak can make a mineral-coated container look much clearer, but it cannot make a scratched or permanently etched container look factory-new.
That approach keeps the cleaning process simple while protecting the container from unnecessary wear. It also means you are solving the actual problem instead of repeatedly scrubbing a surface that may already be permanently marked.
Can You Put a Vitamix Container in the Dishwasher?

It depends on the Vitamix model and container. Some newer containers are dishwasher-safe, while other models require hand washing. Vitamix advises checking the owner’s manual for the exact container before using a dishwasher.
If you are unsure, our guide Is Vitamix Blender Dishwasher Safe? explains what to check before putting the container in a dishwasher.
Frequently Asked Questions
Can I clean a cloudy Vitamix with vinegar?
Yes. Vitamix recommends pouring 1 cup of white vinegar into the container, adding warm water until it is about half full, and letting it soak upright for several hours. Afterward, rinse the container and gently scrub any remaining film.
How long should I soak my Vitamix in vinegar?
Let the vinegar and warm-water solution stand for several hours. The exact time can vary with the amount of buildup, so give stubborn mineral film more time rather than relying on a very short soak.
Can I use baking soda after vinegar?
Yes. If the vinegar soak leaves stubborn residue, a baking soda-and-water paste can provide gentle mechanical cleaning. Rinse the container thoroughly afterward.
Why does my Vitamix get cloudy after cleaning?
The cloudy appearance can come from mineral deposits left by water and ingredients. Hard water can make the film more noticeable, so a container can look cloudy even when you clean it regularly.
Can vinegar remove every cloudy mark?
No. Vinegar works well for mineral film, but it cannot repair scratches or permanent surface damage. If careful cleaning does not change the haze, the cloudiness may not be removable.
Is it safe to scrub around the Vitamix blades?
Use caution because the blades are sharp. Keep your fingers away from the blade edges and use a soft cleaning tool instead. Vitamix specifically warns users to be careful around the blade assembly.
Final Thoughts
A cloudy Vitamix does not always mean the container is permanently dirty. In many cases, mineral film from water and ingredients is the real culprit, and a simple white vinegar soak can loosen it.
Start with 1 cup of white vinegar, add warm water to about half full, soak for several hours, and gently scrub any remaining film. Rinse well and air-dry the container. If vinegar does not change the haze, avoid increasingly harsh cleaners and consider whether the surface has permanent wear.
For more practical kitchen-appliance tips, keep exploring Kitchen Comfy. We focus on simple, useful guides that help you solve everyday kitchen problems without unnecessary steps.

JAKARIA is a seasoned expert in kitchen appliances and cooking techniques. With years of hands-on experience and in-depth knowledge, he has a knack for solving common kitchen appliance issues. He also offers expert guidance to help you achieve culinary success and create amazing meals effortlessly.